I absolutely love this recipe because it’s incredibly satisfying to create something so delicious from just a few basic ingredients, making me feel like a pastry pro without all the fuss. Plus, the buttery, flaky crust is the perfect base for my favorite sweet or savory fillings, making it a versatile go-to in my kitchen arsenal.
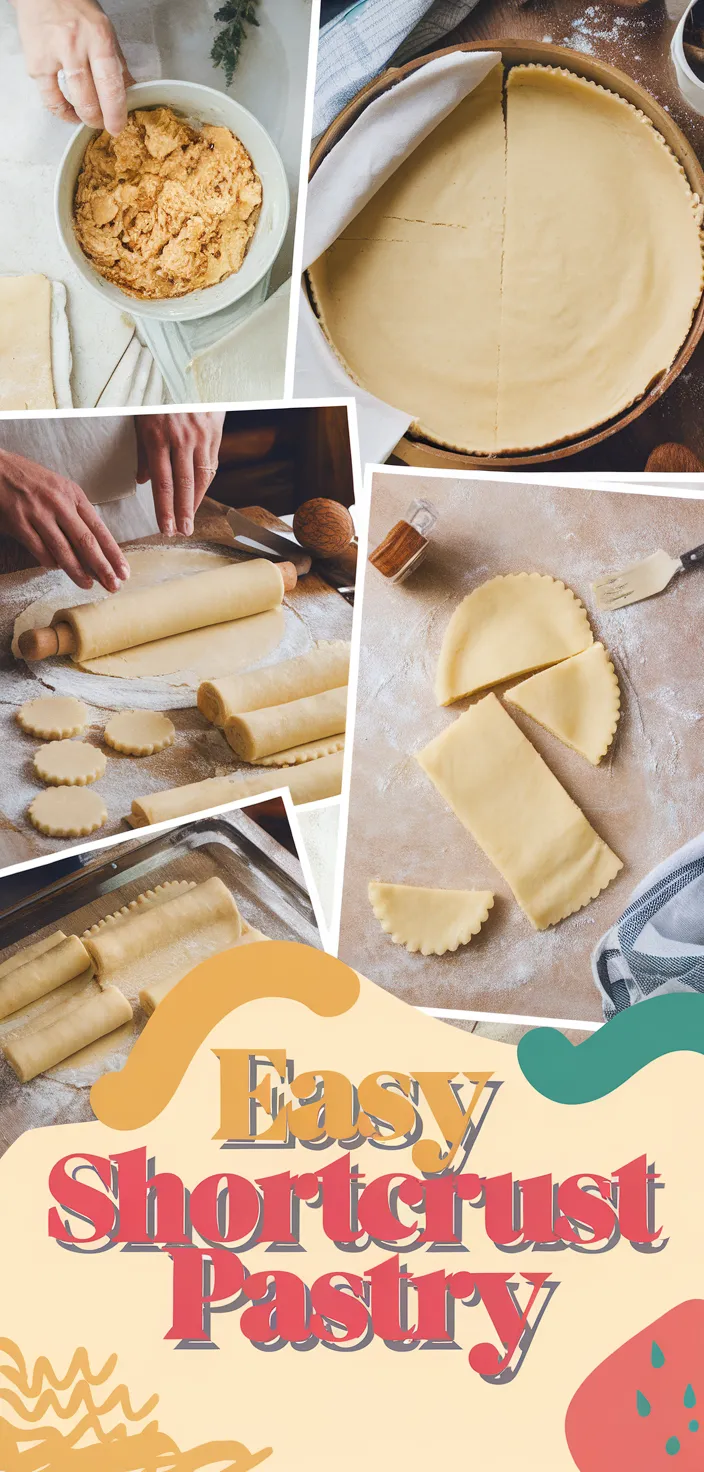
I adore how direct and gratifying an uncomplicated shortcrust pastry can be. With only 250g of all-purpose flour, 125g of cold, unsalted butter cubed, a bit of salt, and a few drops of cold water, you’ve got the bedrock of so many wonderful dishes.
Really, the beauty of shortcrust rests on its many permutations. You can flavor it, spice it, or switch up the fat, and it still is engaging and satisfying.
Ingredients
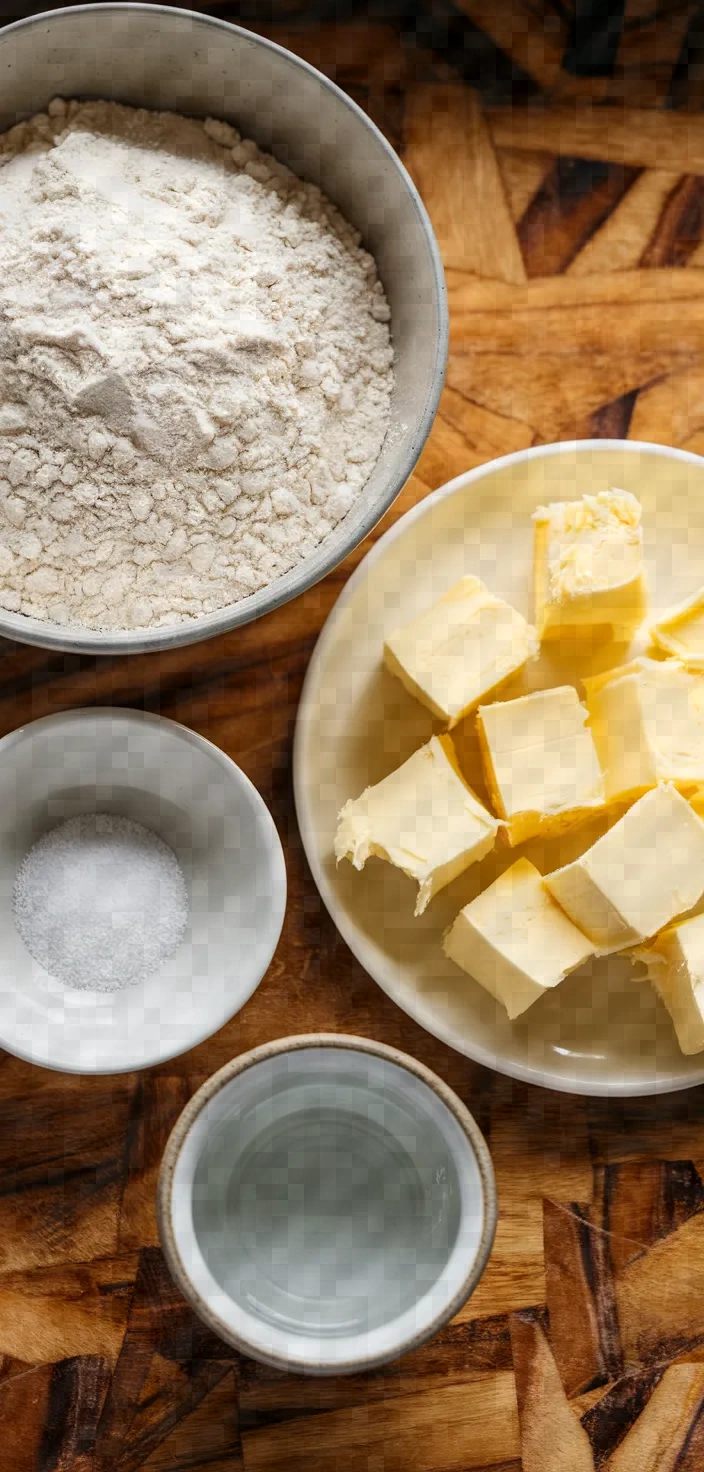
All-purpose flour: The ingredient most responsible for the structure of baked goods.
It is starch, and starch is carbohydrate.
When wheat is milled (ground) into flour, it is separated into two main components: starch and protein.
Butter, unsalted: Richness and flavor are added; a tender, flaky texture is ensured.
Sodium chloride: Intensifies taste, counteracting the insipidness of flour and the richness of butter.
Chilly Water: Unites elements, reducing gluten development, ensuring softness.
Ingredient Quantities
- 250g plain flour
- 125g unsalted butter, chilled and cubed
- 1/2 teaspoon salt
- 2-3 tablespoons cold water
Instructions
1. Put the flour and salt into a large mixing bowl.
2. Place in cubes the butter that has been chilled and add to the flour mixture.
3. With your fingertips, work the butter into the flour until the mixture resembles coarse breadcrumbs.
4. Incorporate 2 tablespoons of cold water, and blend with a knife until the dough starts to gather itself.
5. If the dough is too dry, add a spoonful of cold water, a little at a time, until it forms a smooth ball.
6. Collect the dough with your hands and form it into a ball. Knead the dough gently on a lightly floured surface until it is smooth.
7. Cover the dough with plastic wrap and chill for not less than 30 minutes before working with it.
8. After a period of rest, roll the pastry out on a floured work surface with a floured pin to the thickness of your choice.
9. Lift the pastry with care and line it into a pie or tart tin, using gentle pressure to press into the tin and remove any air pockets.
10. Remove the extra pastry from the edges and cool for another 10 minutes before baking or filling.
Equipment Needed
1. Large mixing bowl
2. Measuring cups/spoons
3. Knife
4. Fork or pastry blender
5. Plastic wrap
6. Rolling pin
7. Flour sifter (optional, for dusting surface)
8. Pie or tart tin
9. Pastry brush (optional, for brushing off extra flour)
FAQ
- What is the purpose of chilling the butter?Keeping the butter cold guarantees that it stays in a solid state while being mixed, and this, in turn, makes certain that the pastry is flaky and tender when it bakes. Melting is what makes the pastry puff, and the tiny bits of butter are what make it flaky.
- Can I use salted butter instead?Of course, but lessen the extra salt to keep the flavors in the pastry balanced.
- How do I know when to stop adding water?Gradually add water until the dough just holds together and is not sticky. It must hold its shape when pressed.
- Is it necessary to rest the dough?Indeed, allowing the dough to sit in the refrigerator for a minimum of 30 minutes permits the gluten to relax, rendering the dough more manageable when it comes to rolling it out.
- Can I make this dough in advance?Definitely! You can keep it in the refrigerator for a maximum of 2 days or in the freezer for as long as 3 months.
- What’s the best way to roll out the dough?Using two sheets of parchment paper prevents the rolling of the dough from sticking. It also makes placing the dough in the appropriate pan a lot simpler.
- Can gluten-free flour be used in this recipe?Certainly, a gluten-free blend can stand in for plain flour, although the resulting baked goods may not taste or feel exactly the same as they would have if they’d been made with standard flour. This is just one reason gluten-free baking can be so challenging.
Substitutions and Variations
For regular flour, use whole wheat flour for a more healthful option or gluten-free flour if you are sensitive to gluten.
Substitute salted butter in place of the unsalted, but cut back on the extra salt in the recipe so that everything doesn’t taste like a salt lick.
Use a plant-based margarine in place of butter for a version that is free of dairy.
For cold water, substitute with cold milk to add a bit of richness to the pastry.
Pro Tips
1. Keep Everything Cold: Ensure your butter and water are chilled to prevent melting and maintain the pastry’s flakiness. You can even chill your mixing bowl and flour in the fridge before starting.
2. Use a Pastry Cutter: If you want an even texture, consider using a pastry cutter instead of your fingertips to incorporate the butter, especially if you have warm hands.
3. Avoid Overworking the Dough: Handle the dough as little as possible once it comes together to prevent the development of too much gluten, which can make the pastry tough.
4. Chill the Dough Twice: After forming the dough into a ball, chill it twice—once after forming and again after lining the tin. This helps to relax the gluten and ensures a flaky result.
5. Prick the Base: Before baking or filling, prick the pastry base with a fork to prevent it from puffing up during baking. If blind baking, line it with parchment paper and add baking beans.

Easy Shortcrust Pastry Recipe
My favorite Easy Shortcrust Pastry Recipe
Equipment Needed:
1. Large mixing bowl
2. Measuring cups/spoons
3. Knife
4. Fork or pastry blender
5. Plastic wrap
6. Rolling pin
7. Flour sifter (optional, for dusting surface)
8. Pie or tart tin
9. Pastry brush (optional, for brushing off extra flour)
Ingredients:
- 250g plain flour
- 125g unsalted butter, chilled and cubed
- 1/2 teaspoon salt
- 2-3 tablespoons cold water
Instructions:
1. Put the flour and salt into a large mixing bowl.
2. Place in cubes the butter that has been chilled and add to the flour mixture.
3. With your fingertips, work the butter into the flour until the mixture resembles coarse breadcrumbs.
4. Incorporate 2 tablespoons of cold water, and blend with a knife until the dough starts to gather itself.
5. If the dough is too dry, add a spoonful of cold water, a little at a time, until it forms a smooth ball.
6. Collect the dough with your hands and form it into a ball. Knead the dough gently on a lightly floured surface until it is smooth.
7. Cover the dough with plastic wrap and chill for not less than 30 minutes before working with it.
8. After a period of rest, roll the pastry out on a floured work surface with a floured pin to the thickness of your choice.
9. Lift the pastry with care and line it into a pie or tart tin, using gentle pressure to press into the tin and remove any air pockets.
10. Remove the extra pastry from the edges and cool for another 10 minutes before baking or filling.