I absolutely love this recipe because it turns ordinary chocolate into a silky, glossy masterpiece that’s perfect for any occasion. The process of tempering is like a zen ritual, giving me this satisfying sense of accomplishment and allowing me to indulge in some serious chocolatey deliciousness.
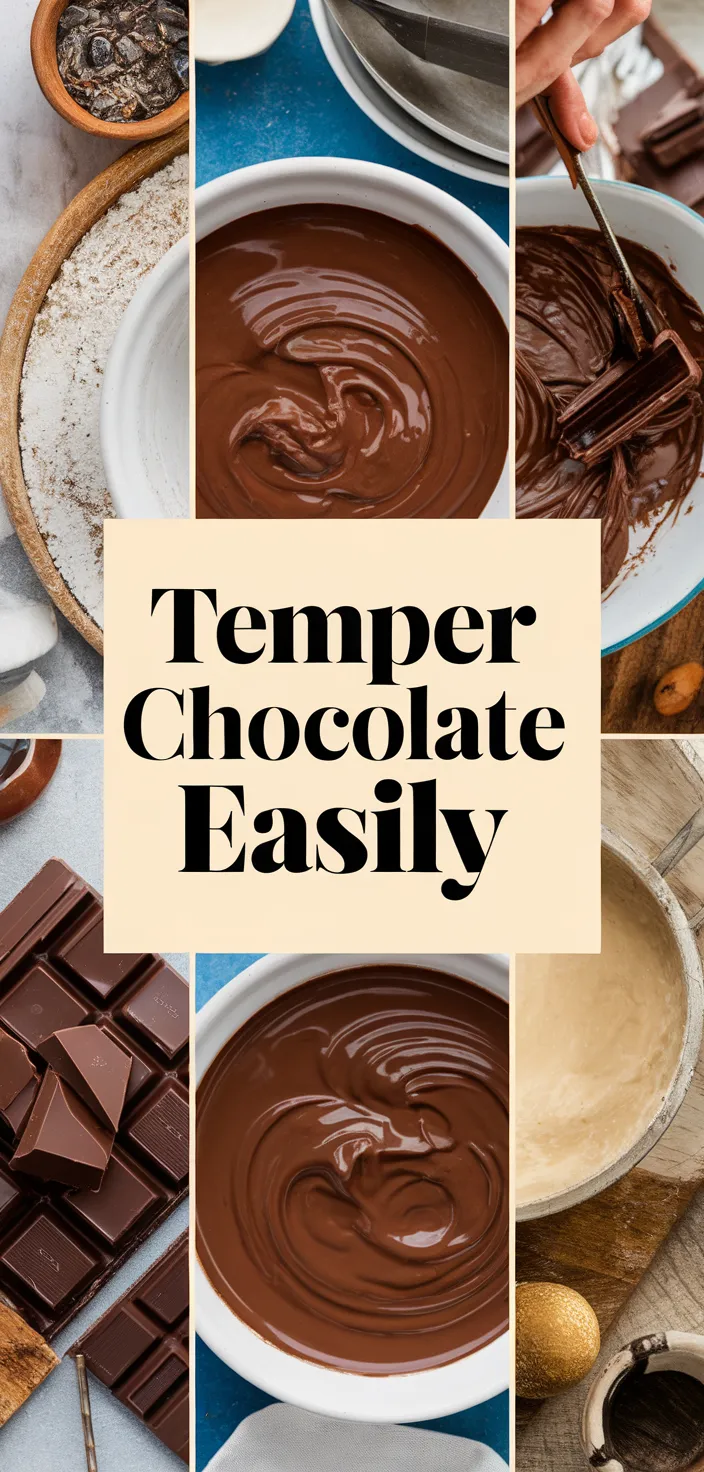
The art of tempering chocolate ensures a smooth, glossy finish, and a satisfying snap. The “primer” on tempering that follows is for using 500g of high-quality chopped chocolate, accompanying 100g of finely grated chocolate used as a seed.
A heatproof bowl that is clean and dry, along with a rubber spatula for stirring, is a part of the setup for the operation.
Ingredients
Dark Chocolate: Abundant with antioxidants; provides a profound, intricate taste.
Milk Chocolate: Rich and sugary, high in sweetening agents, fat, and sugar.
White chocolate is sweet and milky.
It does not have the health benefits that cocoa powder has.
Cacao Bean: Makes a shiny, stable finish when tempering.
Ingredient Quantities
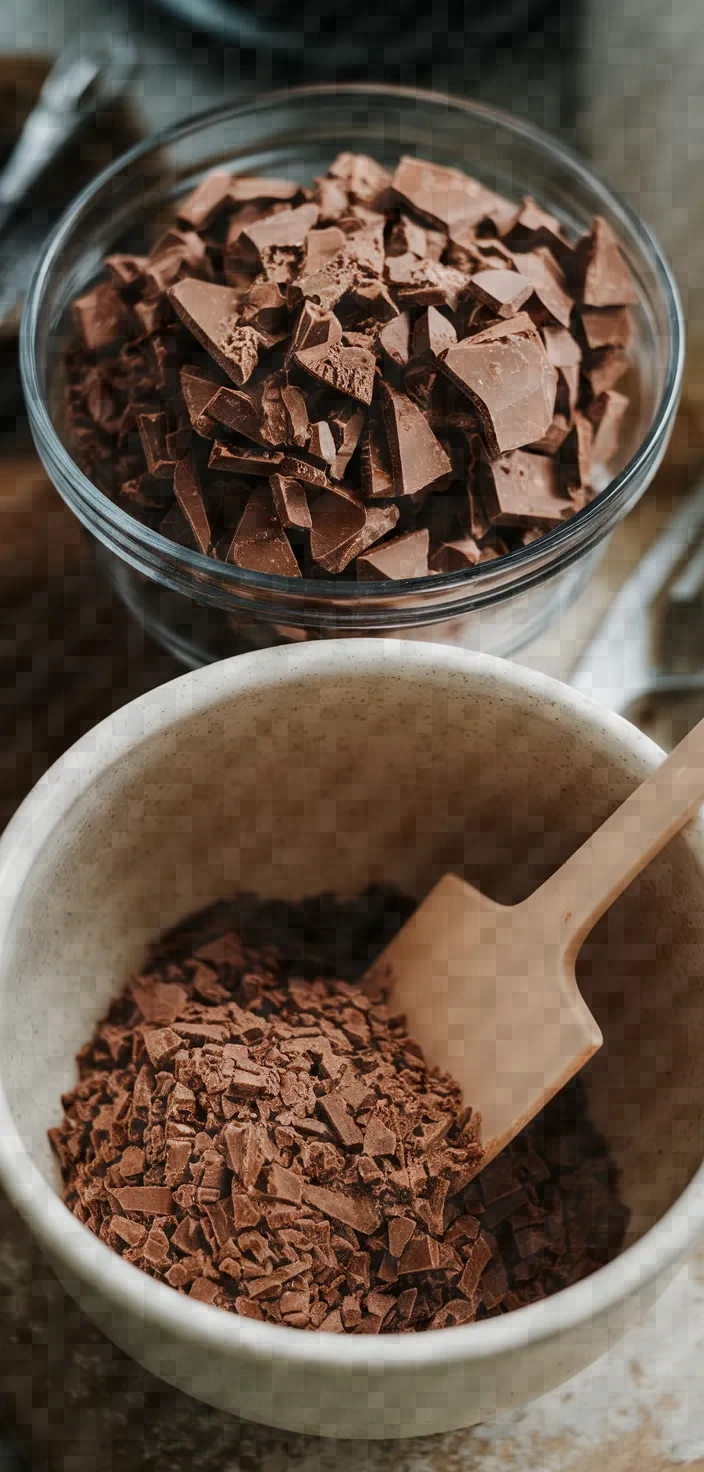
- 500g of high-quality chocolate (dark, milk, or white), chopped into small, even pieces
- 100g of chocolate (as a seed), finely grated (from the same type used initially)
- Clean, dry, heatproof bowl
- Rubber spatula for stirring
Instructions
1. Fill a pot with a few inches of water and bring it to a simmer to make a double boiler. Set a heatproof bowl over the pot; make sure it does not touch the water.
2. In a bowl, combine 500 grams of chopped chocolate. With a rubber spatula, stir the chocolate for gentle and continuous mixing until it reaches a fully melted and completely smooth state.
3. Check the chocolate temperature to achieve the desired melting point (dark chocolate: 45-50°C, milk and white chocolate: 40-45°C).
4. When the chocolate has melted and is at the correct temperature, take the bowl from the heat.
5. Slowly add the 100g of finely grated seed chocolate into the melted chocolate, stirring continuously to combine. This process is known as seeding.
6. Stir until the added chocolate is completely melted and the mixture thickens slightly. Helping lower the temperature and encouraging crystallization is a reason for this action.
7. Let the chocolate cool to its tempering point (dark chocolate: 27-28°C, milk chocolate: 26-27°C, white chocolate: 25-26°C).
8. Carefully bring the chocolate back up to its working temperature while preserving the temper: dark chocolate (31-32°C), milk chocolate (29-30°C), and white chocolate (28-29°C).
9. To check the temper, take a small amount and spread it on a piece of parchment paper. It should set quickly and evenly, with a smooth, glossy finish in a few minutes.
10. When you have completed tempering the chocolate, use it right away for dipping, molding, or whatever else you desire. It should be kept warm to maintain its temper and should be stirred at intervals to ensure it is a uniform mass of chocolate.
Equipment Needed
1. Pot
2. Heatproof bowl
3. Kitchen thermometer
4. Rubber spatula
5. Parchment paper
FAQ
- Q: What is the purpose of tempering chocolate?A: Ensuring that chocolate has a glossy finish, a firm snap, and no whitish bloom when it’s set requires a tempering process.
- Q: Why do I need a seed chocolate in the tempering process?The seed chocolate introduces stable cocoa butter crystals, which control the crystallization process during cooling.
- Q: Can I use a microwave instead of a heatproof bowl over water?A: You can melt chocolate in the microwave, using short bursts and frequent stirring to control the temperature.
- Q: What should I do if my chocolate goes out of temper?To reheat the chocolate gently and restart the tempering process, add more seed chocolate if necessary.
- Q: How can I tell if my chocolate is properly tempered?A: Immerse a spoon or piece of parchment in the chocolate. It should set at room temperature within a few minutes and be shiny when you look at it.
- Q: Can I temper chocolate with fillings or other inclusions?A: Before adding any fillings or inclusions, chocolate should be tempered separately in order to keep the temper intact.
Substitutions and Variations
You can use couverture chocolate instead of 500 grams of high-quality chocolate, which has a higher cocoa butter content and melts smoothly.
Instead of a rubber spatula, you can use a silicone spatula, which is also heat-resistant and effective for stirring.
A glass or stainless steel mixing bowl can be used as the heatproof bowl; these materials can withstand the heat necessary to melt chocolate.
Pro Tips
1. Always use high-quality chocolate with a high cocoa butter content for the best results. This ensures a smooth and shiny finish after tempering.
2. Ensure all equipment is thoroughly dry before use. Even a drop of water can cause chocolate to seize and become grainy, making the tempering process difficult.
3. Use a digital thermometer to monitor the chocolate temperatures precisely. Accuracy is key to successful tempering, so check temperatures frequently and make adjustments as needed.
4. Stir the chocolate continuously and gently throughout the process. This helps to distribute heat evenly and encourages the formation of stable crystals needed for a proper temper.
5. Be patient during the cooling phase. Allow the chocolate to reach its tempering point naturally for a stable structure. Avoid using fans or cold surfaces, as rapid cooling can disrupt the desired crystal formation.
How To Temper Chocolate Easily Recipe
My favorite How To Temper Chocolate Easily Recipe
Equipment Needed:
1. Pot
2. Heatproof bowl
3. Kitchen thermometer
4. Rubber spatula
5. Parchment paper
Ingredients:
- 500g of high-quality chocolate (dark, milk, or white), chopped into small, even pieces
- 100g of chocolate (as a seed), finely grated (from the same type used initially)
- Clean, dry, heatproof bowl
- Rubber spatula for stirring
Instructions:
1. Fill a pot with a few inches of water and bring it to a simmer to make a double boiler. Set a heatproof bowl over the pot; make sure it does not touch the water.
2. In a bowl, combine 500 grams of chopped chocolate. With a rubber spatula, stir the chocolate for gentle and continuous mixing until it reaches a fully melted and completely smooth state.
3. Check the chocolate temperature to achieve the desired melting point (dark chocolate: 45-50°C, milk and white chocolate: 40-45°C).
4. When the chocolate has melted and is at the correct temperature, take the bowl from the heat.
5. Slowly add the 100g of finely grated seed chocolate into the melted chocolate, stirring continuously to combine. This process is known as seeding.
6. Stir until the added chocolate is completely melted and the mixture thickens slightly. Helping lower the temperature and encouraging crystallization is a reason for this action.
7. Let the chocolate cool to its tempering point (dark chocolate: 27-28°C, milk chocolate: 26-27°C, white chocolate: 25-26°C).
8. Carefully bring the chocolate back up to its working temperature while preserving the temper: dark chocolate (31-32°C), milk chocolate (29-30°C), and white chocolate (28-29°C).
9. To check the temper, take a small amount and spread it on a piece of parchment paper. It should set quickly and evenly, with a smooth, glossy finish in a few minutes.
10. When you have completed tempering the chocolate, use it right away for dipping, molding, or whatever else you desire. It should be kept warm to maintain its temper and should be stirred at intervals to ensure it is a uniform mass of chocolate.