I’ve gotta say, I was on the hunt for a fall flavor upgrade when i stumbled upon this super easy dairy free pumpkin creamer recipe that lets me just toss in almond milk, pumpkin puree, maple syrup, vanilla extract, pumpkin pie spice, cinnamon and a pinch of salt into a blender, then heat it up if i feel like it make my coffee way more exciting and honestly helps me power through those chilly mornings when i need that extra cozy vibe.
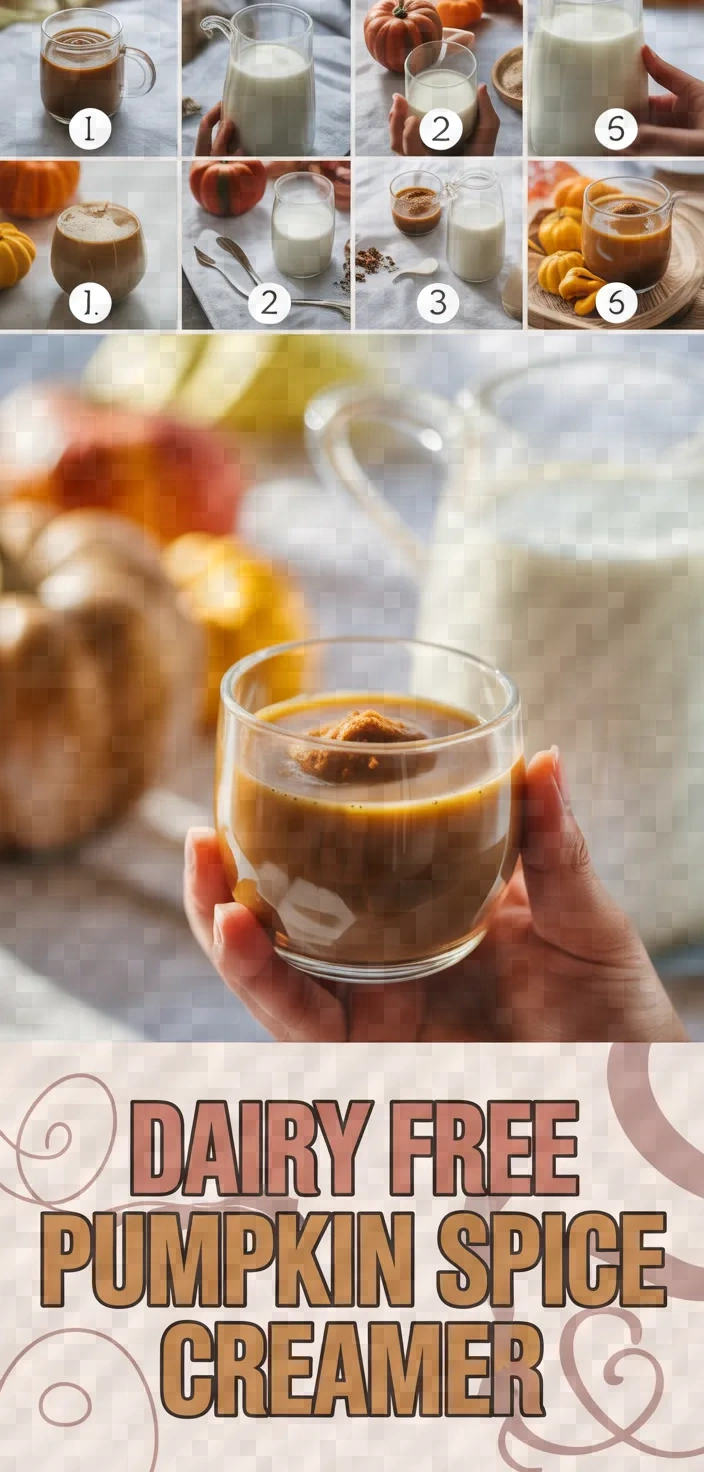
I love making this dairy free pumpkin spice creamer using unsweetened almond milk, pumpkin puree, maple syrup, vanilla extract, pumpkin pie spice, ground cinnamon and a pinch of salt. I think its nutritional profile is solid with plant based nutrients and low calories making it perfect for fall.
Ingredients
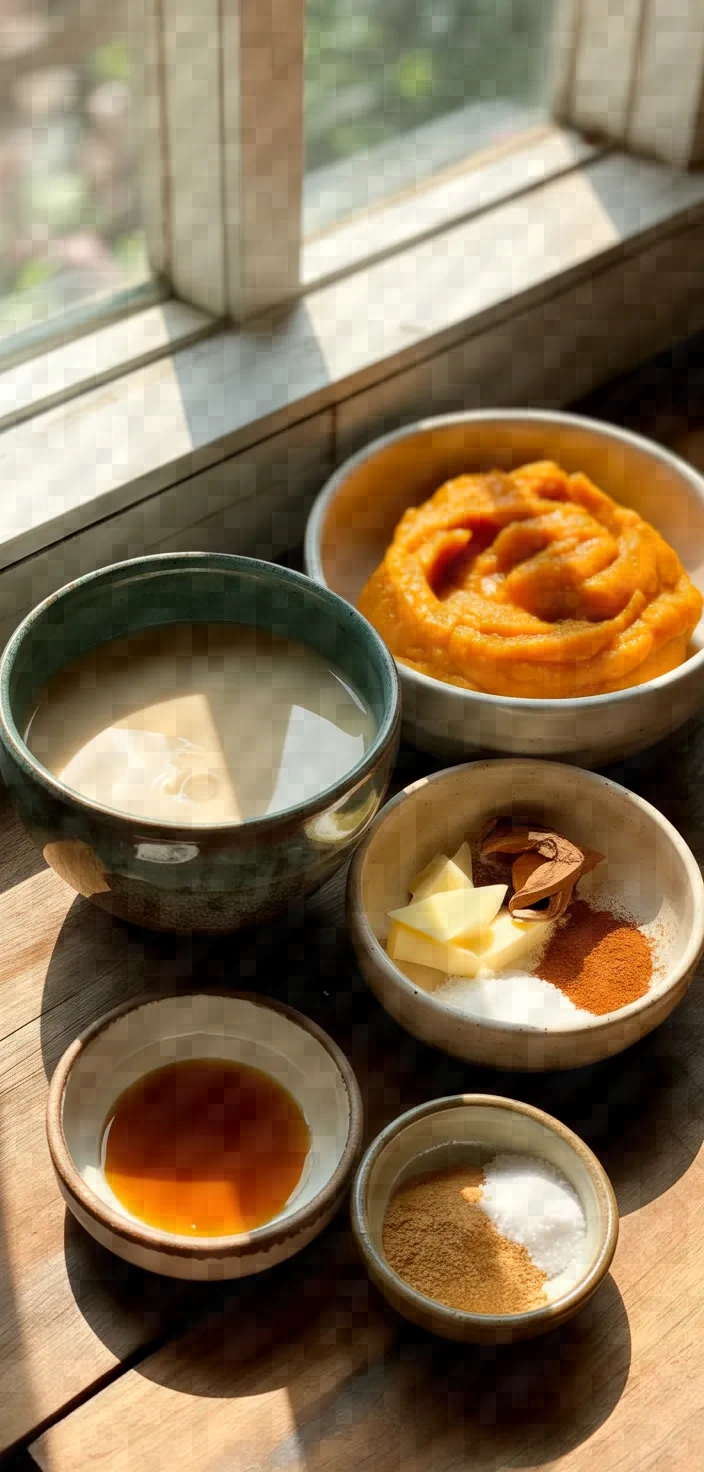
- Unsweetened almond milk: Nutty dairy free liquid rich in vitamin E, light proteins and healthy fats.
- Pumpkin puree: This provides fibre and antioxidants while adding a naturally autumny flavor.
- Maple syrup: Golden natural sweetener that brings subtle sweetness and trace minerals.
- Vanilla extract: Adds deep, warming flavor that helps round out every sip.
- Pumpkin pie spice: A mix of herbs that lends festive, nostalgic notes to your creamer.
- Ground cinnamon: Offers aromatic sweetness, boosting metabolism with its healthful compounds.
- A pinch of salt: Balances sweetness and intensifies flavors with minimal sodium.
Ingredient Quantities
- 1 cup unsweetened almond milk (or your favorite dairy free milk)
- 1/2 cup pumpkin puree
- 2 tablespoons maple syrup (add a bit more if you like it sweeter)
- 1 teaspoon vanilla extract
- 1/2 teaspoon pumpkin pie spice
- 1/4 teaspoon ground cinnamon
- A pinch of salt
How to Make this
1. Pour the unsweetened almond milk into a blender.
2. Add the pumpkin puree, maple syrup, and vanilla extract.
3. Toss in the pumpkin pie spice, ground cinnamon, and a pinch of salt.
4. Blend everything together until it’s super smooth.
5. Taste the mixture and if it’s not sweet enough, stir in a little extra maple syrup.
6. If you like your creamer warm, pour it into a small pot and heat it gently over low heat until it’s heated through. Don’t let it boil.
7. Let it cool a little bit.
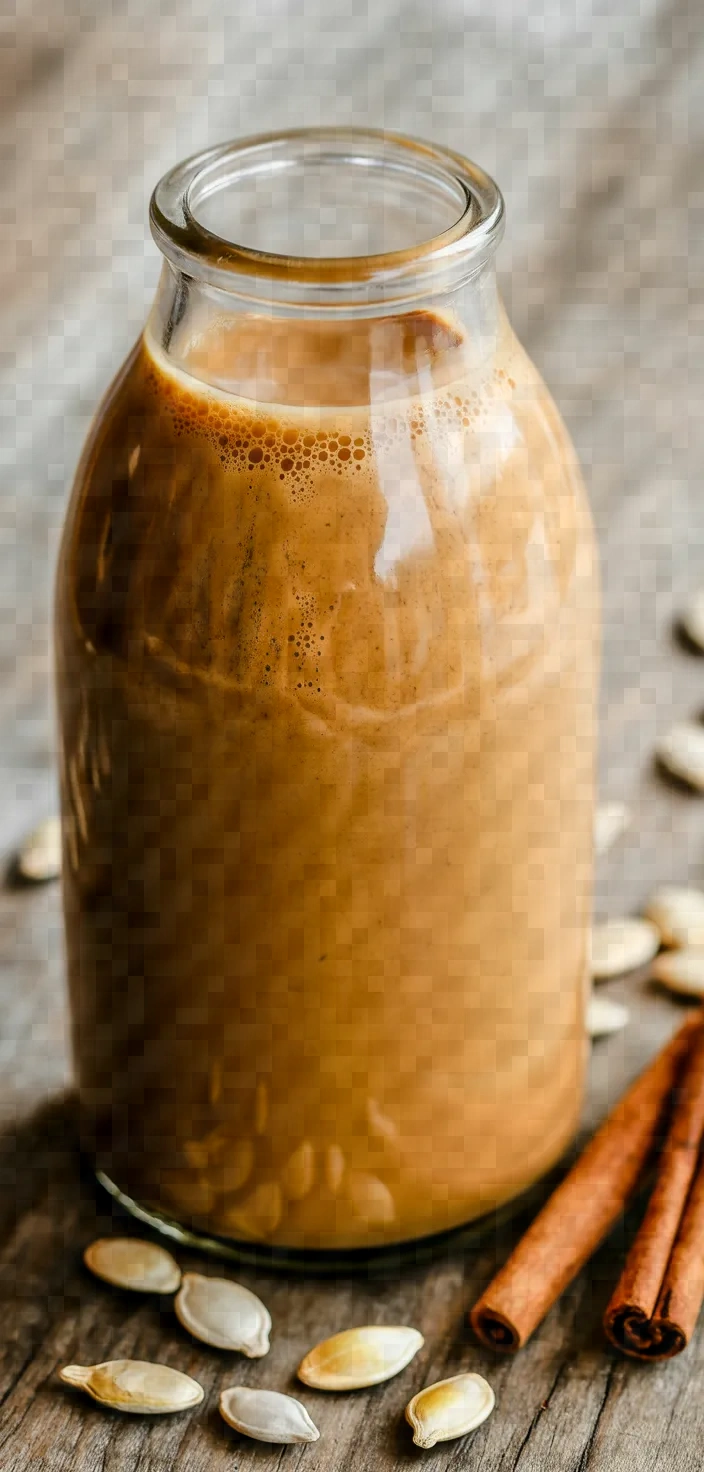
8. Pour it into a jar or bottle, then store it in the fridge.
9. Make sure to shake it well before adding it to your coffee.
Equipment Needed
1. Blender
2. Measuring cups
3. Measuring spoons
4. Small pot
5. Stirring spoon
6. Jar or bottle for storage
FAQ
- Q: How long will my dairy free pumpkin spice creamer last?
A: If kept in an airtight container in the fridge, it should last about 5 days. Just give it a good shake before using since the ingredients might settle. - Q: Can I heat this creamer up for my coffee?
A: Yep, you sure can! Just warm it gently on the stove or in the microwave, but don’t boil it, cause it might change the texture. - Q: Can I use a different dairy free milk?
A: Absolutely. Feel free to use oat milk, cashew milk, or any other dairy free milk you like. Just keep in mind that different milks might slightly change the flavor. - Q: Do I really need to blend or mix it well?
A: It’s a good idea to blend all the ingredients thoroughly so that the flavors mix up well. If you don’t have a blender, a whisk or a shaker bottle will work too. - Q: Can I adjust the sweetness or spices in this recipe?
A: Sure thing! If you like it sweeter, add a bit more maple syrup, or if you aren’t into too much spice, scale back a bit on the pumpkin pie spice and cinnamon.
Dairy Free Pumpkin Spice Creamer Recipe Substitutions and Variations
- Unsweetened almond milk: If you’re looking for a change you can try using coconut milk or cashew milk for a different flavor profile.
- Pumpkin puree: You may substitute with butternut squash puree if you cant get pumpkin on hand.
- Maple syrup: Feel free to swap out maple syrup for agave nectar or even a light drizzle of honey if you arent vegan.
- Vanilla extract: In a pinch you can use almond extract but use a little less since its usually more potent.
- Pumpkin pie spice: You can mix your own using equal parts nutmeg and ginger with a pinch of clove and allspice for a custom blend.
Pro Tips
1. When blending everything together, make sure all your ingredients are at room temp. It helps the pumpkin puree break down better and gives you a smoother mix.
2. Don’t overheat the creamer if you want it warm. I learned the hard way that boiling it makes it taste weird, so just heat it slowly on low.
3. If you’re looking for an extra flavor boost, toss in just a pinch of nutmeg or a small drizzle of coconut oil when you blend the mixture. It adds a secret flavor kick.
4. Once it’s in the fridge, give it a good shake before using it in your coffee since the spices and pumpkin can settle over time.
Dairy Free Pumpkin Spice Creamer Recipe
My favorite Dairy Free Pumpkin Spice Creamer Recipe
Equipment Needed:
1. Blender
2. Measuring cups
3. Measuring spoons
4. Small pot
5. Stirring spoon
6. Jar or bottle for storage
Ingredients:
- 1 cup unsweetened almond milk (or your favorite dairy free milk)
- 1/2 cup pumpkin puree
- 2 tablespoons maple syrup (add a bit more if you like it sweeter)
- 1 teaspoon vanilla extract
- 1/2 teaspoon pumpkin pie spice
- 1/4 teaspoon ground cinnamon
- A pinch of salt
Instructions:
1. Pour the unsweetened almond milk into a blender.
2. Add the pumpkin puree, maple syrup, and vanilla extract.
3. Toss in the pumpkin pie spice, ground cinnamon, and a pinch of salt.
4. Blend everything together until it’s super smooth.
5. Taste the mixture and if it’s not sweet enough, stir in a little extra maple syrup.
6. If you like your creamer warm, pour it into a small pot and heat it gently over low heat until it’s heated through. Don’t let it boil.
7. Let it cool a little bit.
8. Pour it into a jar or bottle, then store it in the fridge.
9. Make sure to shake it well before adding it to your coffee.