I couldn’t resist turning classic Hershey Kiss Thumbprint Cookies into vivid red velvet blossoms with a single chocolate tucked into the center, perfect for Valentine’s Day or Christmas.
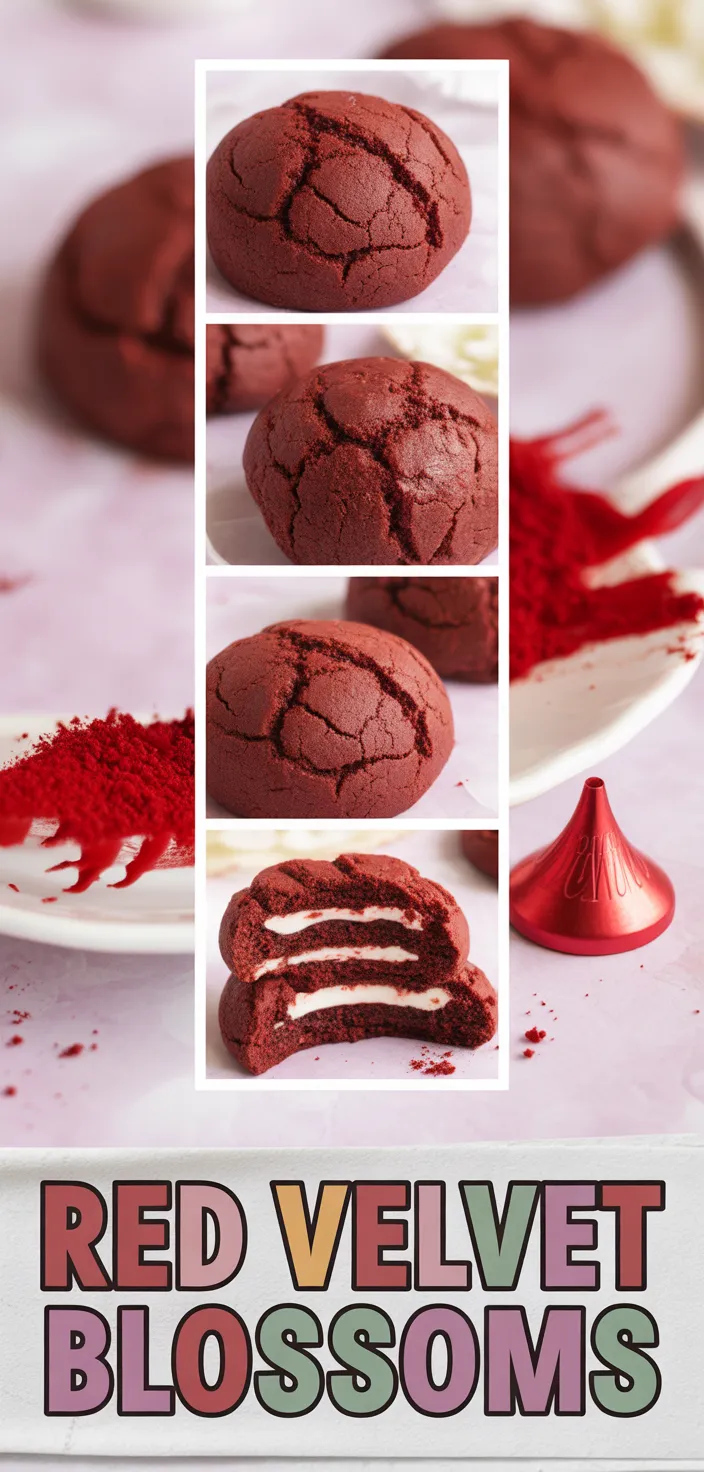
I never thought a simple pop of red could make a cookie so dramatic. These Easy Hershey’s Red Velvet Blossoms look like little wrapped secrets, each one with a Hershey’s Kiss tucked into the center.
I throw in unsweetened cocoa powder to give the flavor more depth under the red, it makes them feel less one-note than you might expect. People call them Hershey Kiss Thumbprint Cookies and once you spot them on a plate you wont stop reaching for one.
They’re festive enough for Valentines or Christmas, but honestly they disappear faster than you plan.
Ingredients
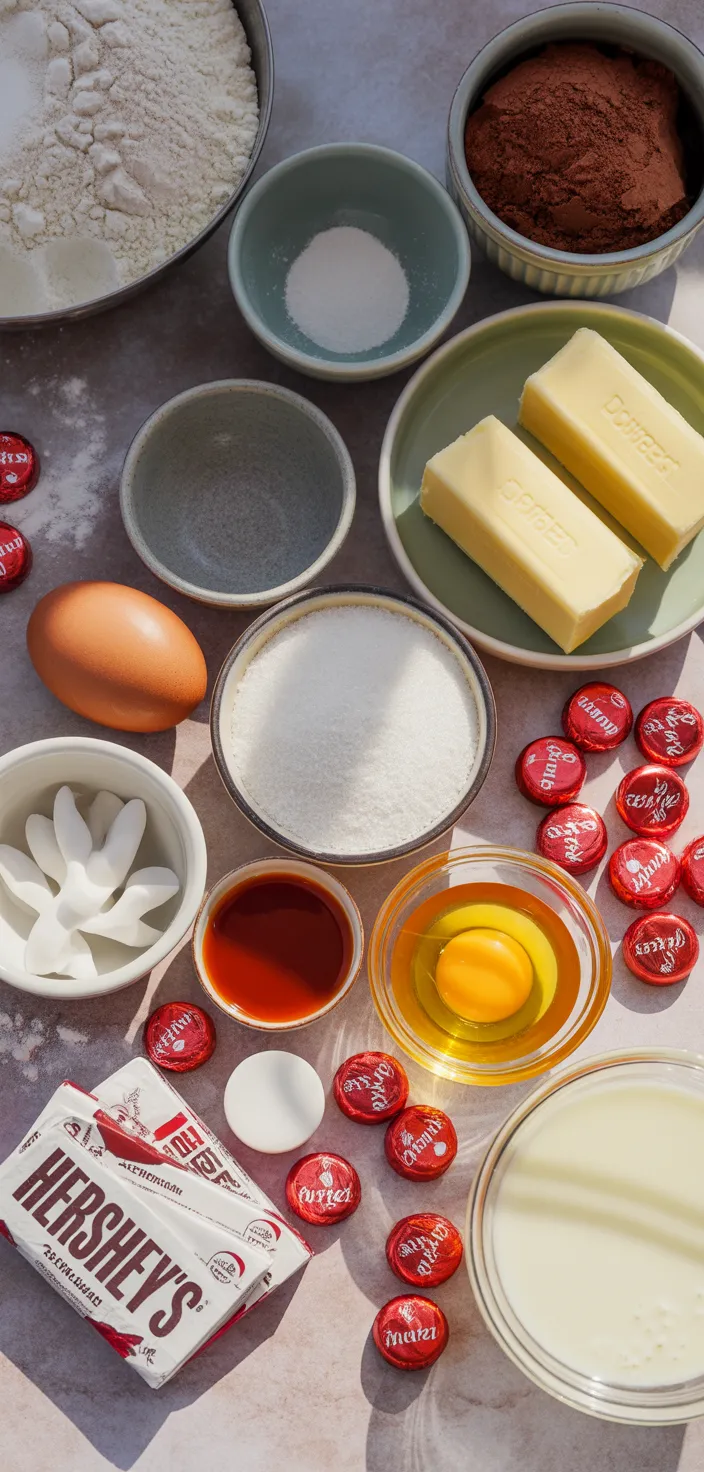
- All purpose flour: Provides carbs and structure, adds chew, low fiber, mostly refined starch.
- Unsweetened cocoa powder: Gives chocolate flavor, some antioxidants, low fat, slightly bitter notes.
- Butter: Adds richness, fat and flavor, gives tenderness, it’s high in saturated fat though.
- Granulated sugar: Sweetens, feeds browning and chew, pure carbs so no protein or fiber.
- Egg: Binds dough, adds protein and moisture, helps rise and gives color.
- Buttermilk: Adds tang and acid, reacts with soda, tender crumb, a little calcium.
- Red food coloring: Purely cosmetic, no nutrition, intense color, no taste impact.
- Hershey’s Kisses: Candy centers add chocolate burst, sugar and fat, not healthy snack.
Ingredient Quantities
- 2 1/4 cups all-purpose flour
- 2 tablespoons unsweetened cocoa powder
- 1 teaspoon baking soda
- 1/2 teaspoon salt
- 1/2 cup (1 stick) unsalted butter softened
- 1/2 cup vegetable shortening
- 1 cup granulated sugar
- 1 large egg
- 1 teaspoon vanilla extract
- 2 tablespoons red food coloring
- 1/4 cup buttermilk
- 1 tablespoon white vinegar
- 36 Hershey’s Kisses, unwrapped
How to Make this
1. Preheat oven to 350°F and line baking sheets with parchment paper or a silicone mat, unwrap 36 Hershey’s Kisses now so you don’t forget them later.
2. In a bowl whisk together 2 1/4 cups all-purpose flour, 2 tablespoons unsweetened cocoa powder, 1 teaspoon baking soda and 1/2 teaspoon salt.
3. In a mixer or with a hand mixer cream 1/2 cup softened unsalted butter and 1/2 cup vegetable shortening with 1 cup granulated sugar until light and fluffy, about 2-3 minutes.
4. Beat in 1 large egg, 1 teaspoon vanilla extract and 2 tablespoons red food coloring until evenly colored, scrape the bowl once or twice.
5. In a small cup stir 1/4 cup buttermilk with 1 tablespoon white vinegar, let it sit 30 seconds then add it to the batter and mix on low so it blends in.
6. Add the dry ingredients to the wet in two additions and mix just until combined, don’t overmix or the cookies will be tough.
7. If the dough seems too soft or you want less spread chill it in the fridge 20-30 minutes, this helps keep the cookies thicker.
8. Roll dough into about 1-inch balls (a small cookie scoop helps), place on prepared sheets about 2 inches apart, you should get close to 36 balls.
9. Bake 8-10 minutes until edges are set and centers still look a bit soft, remove from oven and immediately press one unwrapped Hershey’s Kiss into the center of each cookie, don’t press all the way through.
10. Let cookies cool on the pan about 5 minutes so the chocolate sets, then transfer to a wire rack to cool completely; store in an airtight container.
Equipment Needed
1. Oven (set to 350°F)
2. Two baking sheets
3. Parchment paper or silicone baking mat
4. Mixing bowls — one large and one small (for dry and wet)
5. Stand mixer or hand mixer
6. Whisk
7. Measuring cups and spoons
8. Rubber spatula (for scraping the bowl)
9. 1-inch cookie scoop or tablespoon (for even balls)
10. Wire cooling rack
FAQ
Easy Hershey’s Red Velvet Blossoms Cookies Recipe Substitutions and Variations
- All-purpose flour — Cake flour or gluten-free blend: Cake flour (use 1:1) will give softer, more tender cookies. Or swap to a 1:1 gluten-free all-purpose blend that contains xanthan gum. If you want whole wheat, replace up to half the AP with white whole wheat for nuttiness, any more and add a tablespoon or two extra liquid.
- Vegetable shortening — More butter or solid coconut oil: Replace shortening 1:1 with softened butter for richer flavor, but cookies may spread a bit more. Or use chilled solid coconut oil 1:1 for a dairy-free option, expect a faint coconut note.
- Buttermilk — Milk + acid or thinned yogurt: Make a quick buttermilk by adding 1 tablespoon white vinegar or lemon juice to 1/4 cup milk, let sit 5 minutes. Or thin plain yogurt with a little milk to reach 1/4 cup and use that instead.
- Red food coloring — Natural colorings or omit: Use beet powder or concentrated beet juice (start with 1 teaspoon beet powder rehydrated, add more to reach desired color) or freeze-dried raspberry powder for pinkish red. If you skip red altogether, the cookies will just be chocolate red-velvet in flavor but brown in color; you can press plain chocolate chips or colored candies on top instead of Kisses.
Pro Tips
1. Use gel or paste red food coloring, not the watery stuff. It gives a much richer color with way less liquid so your dough wont get too soft, start with less and add more if needed.
2. Spoon and level your flour when measuring, dont scoop from the bag. Too much flour = dry dense cookies, too little = flat spready ones. If in doubt weigh it.
3. For deeper flavor and firmer cookies let the dough chill overnight. Seriously, it makes the red and cocoa taste more rounded and the dough handles better when scooping.
4. If you want more buttery flavor swap half or all of the shortening for butter, but remember those will spread more so chill the dough longer if you do that.
5. Press each Kiss into the cookie as soon as it comes out of the oven so it melts slightly and sticks, but dont push it all the way through. If a Kiss cracks, warm it a few seconds in your hands or a very quick zap in the microwave to soften before pressing.
Easy Hershey's Red Velvet Blossoms Cookies Recipe
I couldn't resist turning classic Hershey Kiss Thumbprint Cookies into vivid red velvet blossoms with a single chocolate tucked into the center, perfect for Valentine's Day or Christmas.
36
servings
128
kcal
Equipment: 1. Oven (set to 350°F)
2. Two baking sheets
3. Parchment paper or silicone baking mat
4. Mixing bowls — one large and one small (for dry and wet)
5. Stand mixer or hand mixer
6. Whisk
7. Measuring cups and spoons
8. Rubber spatula (for scraping the bowl)
9. 1-inch cookie scoop or tablespoon (for even balls)
10. Wire cooling rack
Ingredients
2 1/4 cups all-purpose flour
2 tablespoons unsweetened cocoa powder
1 teaspoon baking soda
1/2 teaspoon salt
1/2 cup (1 stick) unsalted butter softened
1/2 cup vegetable shortening
1 cup granulated sugar
1 large egg
1 teaspoon vanilla extract
2 tablespoons red food coloring
1/4 cup buttermilk
1 tablespoon white vinegar
36 Hershey's Kisses, unwrapped
Directions
- Preheat oven to 350°F and line baking sheets with parchment paper or a silicone mat, unwrap 36 Hershey's Kisses now so you don't forget them later.
- In a bowl whisk together 2 1/4 cups all-purpose flour, 2 tablespoons unsweetened cocoa powder, 1 teaspoon baking soda and 1/2 teaspoon salt.
- In a mixer or with a hand mixer cream 1/2 cup softened unsalted butter and 1/2 cup vegetable shortening with 1 cup granulated sugar until light and fluffy, about 2-3 minutes.
- Beat in 1 large egg, 1 teaspoon vanilla extract and 2 tablespoons red food coloring until evenly colored, scrape the bowl once or twice.
- In a small cup stir 1/4 cup buttermilk with 1 tablespoon white vinegar, let it sit 30 seconds then add it to the batter and mix on low so it blends in.
- Add the dry ingredients to the wet in two additions and mix just until combined, don't overmix or the cookies will be tough.
- If the dough seems too soft or you want less spread chill it in the fridge 20-30 minutes, this helps keep the cookies thicker.
- Roll dough into about 1-inch balls (a small cookie scoop helps), place on prepared sheets about 2 inches apart, you should get close to 36 balls.
- Bake 8-10 minutes until edges are set and centers still look a bit soft, remove from oven and immediately press one unwrapped Hershey's Kiss into the center of each cookie, don't press all the way through.
- Let cookies cool on the pan about 5 minutes so the chocolate sets, then transfer to a wire rack to cool completely; store in an airtight container.
Notes
- Below you’ll find my best estimate of this recipe’s nutrition facts. Treat the numbers as a guide rather than a rule—great food should nourish both body and spirit. Figures are approximate, and the website owner assumes no liability for any inaccuracies in this recipe.
Nutrition Facts
- Serving Size: 28g
- Total number of serves: 36
- Calories: 128kcal
- Fat: 7.4g
- Saturated Fat: 3g
- Trans Fat: 0.06g
- Polyunsaturated: 0.83g
- Monounsaturated: 1.7g
- Cholesterol: 13mg
- Sodium: 39mg
- Potassium: 19mg
- Carbohydrates: 14.3g
- Fiber: 0.4g
- Sugar: 7.9g
- Protein: 1.3g
- Vitamin A: 157IU
- Vitamin C: 0mg
- Calcium: 8mg
- Iron: 0.5mg