I absolutely adore this Red Velvet Cakesicles recipe because it’s like indulging in an Instagram-worthy treat that combines my love for classic flavors with a modern twist! Plus, the creative process of decorating and making each cakesicle uniquely mine brings out my inner pastry artist, making them not just delicious but super fun to create.
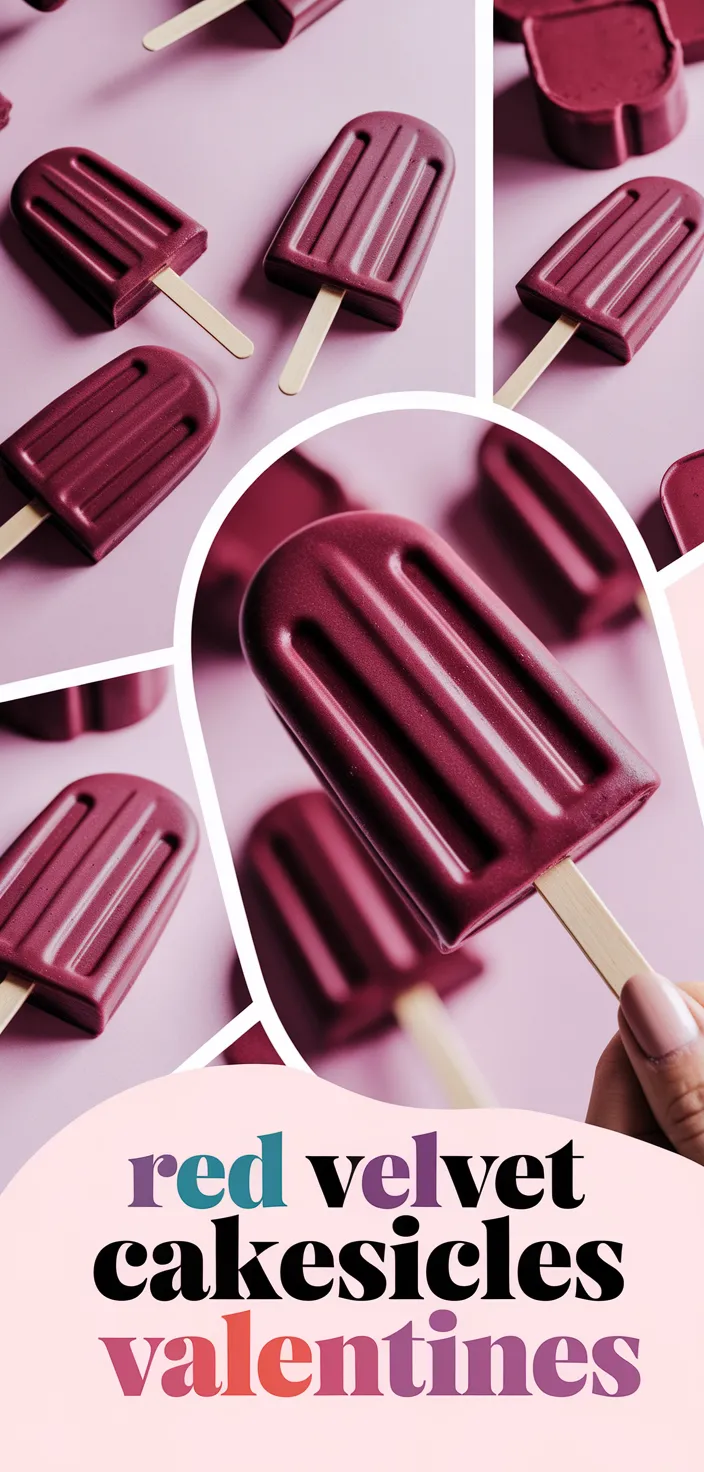
For Valentine’s Day, I adore crafting Red Velvet Cakesicles. I use a box of cake mix, and I mix that with eggs, vegetable oil, and water for a rich base.
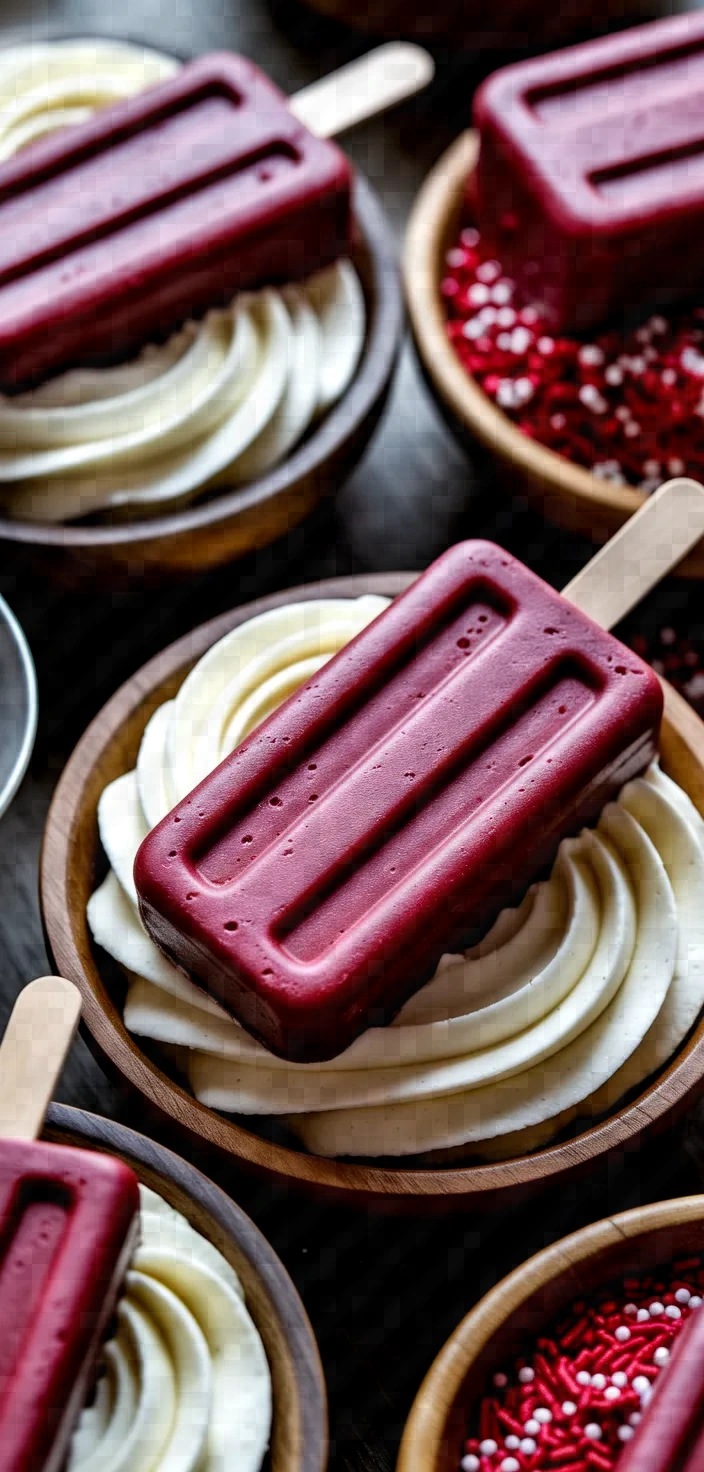
I bake the batter and then mix in cream cheese frosting for a delicious filling. Then I coat the cakesicles with white chocolate and decorate them with festive sprinkles.
Ingredients
The mix for red velvet cake: Supplies a flavor and sweetness that is rich and unmistakable.
Big eggs: Provide muscular nourishment and assist in tying elements together.
Oil from vegetables: Contributes moisture and fat, making the cake tender.
Frosting with cream cheese: Tangy sweetness and creamy texture.
Candy melts or white chocolate: Provide a rich, sweet, creamy coating.
Edible decorations or sprinkles: These add color, texture, and a very sweet flavor.
Ingredient Quantities
- 1 box red velvet cake mix
- 3 large eggs
- 1/3 cup vegetable oil
- 1 cup water
- 1 cup cream cheese frosting
- 12 oz white chocolate or candy melts
- Red or pink food coloring (optional)
- Sprinkles or edible decorations
- Popsicle sticks
- Silicone cakesicle mold
Instructions
1. Set your oven to 350°F (175°C) to preheat, and ready a baking pan measuring 9×13 inches with either non-stick spray or parchment paper.
2. In a big bowl, stir together the red velvet cake mix, eggs, vegetable oil, and water until thoroughly mixed and smooth.
3. Put the batter into the baking pan you prepared and bake it for 25 to 30 minutes.
Or until a toothpick plunged into the center comes out clean.
4. Let the cake cool completely, then crumble it into a large bowl.
5. Combine the crumbled cake with the cream cheese frosting until they reach a dough-like consistency.
6. Divide the mixture for the cake into portions and press each portion into the mold for the cakesicle, which is made of silicone. Put a sticksicle in each one.
7. Gently take the shaped cakesicles out of the molds, and place them on a lined sheet pan.
8. In a microwave-safe bowl, melt the white chocolate or candy melts, stirring every 30 seconds until smooth. If you want to add some contrasting color to your dipped strawberries, now is the time to do it. Stir in a few drops of red or pink food coloring to the melted white chocolate or candy melts.
9. Each cakesicle should be dipped in the melted chocolate and fully coated before allowing any excess chocolate to drip off.
10. Return the coated cakesicles back to the lined baking sheet, and in a flash, decorate them with sprinkles or edible decorations so that the chocolate doesn’t set first. Let cool thoroughly until the chocolate has set hard as well. And then you’re ready to enjoy your beautiful and delicious Red Velvet Cakesicles!
Equipment Needed
1. Oven
2. 9×13 inch baking pan
3. Non-stick spray or parchment paper
4. Large mixing bowl
5. Mixing spoon or spatula
6. Toothpick
7. Large bowl (for crumbling cake)
8. Silicone cakesicle mold
9. Popsicle sticks
10. Lined sheet pan
11. Microwave-safe bowl
12. Microwave
13. Spoon (for stirring chocolate)
FAQ
- Q: Can I use homemade red velvet cake instead of a box mix?A: Indeed, a homemade red velvet cake recipe can be used. Just make it as you would normally and follow the cakesicle instructions from there.
- Q: How do I prevent the cakesicles from falling apart?A: Confirm that the cake mixture is compact in the mold and has an even coat of chocolate. Try placing it in the freezer for a few minutes before jiggling it free from the mold. That chill time will help the cakes hold their shape.
- Q: What can I use instead of cream cheese frosting?A: Buttercream or any other frosting of your choice can be used as a substitute, but in my humble opinion, cream cheese frosting pairs exceptionally well with the red velvet flavor.
- Q: How can I achieve vibrant colors with food coloring?A: For more intense colors without adding too much liquid, use gel food coloring—that is, of course, unless you want to use liquid food coloring, which is what I used, and I still got a pretty intense color result. A tip: To avoid adding too much liquid, which will mess with the consistency of your chocolate, really emphasize the “concentrated” part of gel food coloring.
- Q: How long do these cakesicles last?A: They can last up to a week if an airtight container is used to store them in the refrigerator.
- Q: Can I use dark or milk chocolate instead of white chocolate?A: Yes, you can replace white chocolate with either dark or milk chocolate; however, the look and flavor will vary somewhat.
Substitutions and Variations
Chocolate cake mix: Use 1-2 tablespoons of red food coloring for the color.
Melted coconut oil or unsweetened applesauce can replace vegetable oil, making for a healthier dish.
Frosting of cream cheese: Use vanilla frosting with a bit of lemon juice added for a tangier flavor.
Chocolate or candy melts in white. Use milk or dark chocolate melts for a different flavor profile.
For a different texture and visual appeal, use crushed nuts or desiccated coconut. Use these ingredients in place of sprinkles or edible decorations.
Pro Tips
1. Room Temperature Ingredients: Ensure your eggs and any other refrigerated ingredients, like cream cheese frosting, are at room temperature before mixing. This helps the cake batter mix more evenly and results in a smoother texture.
2. Crumb Consistency: When crumbling the cooled cake, make sure the crumbs are fine and even. This consistency will mix better with the cream cheese frosting and form a dough-like mixture that holds together well in the cakesicle molds.
3. Even Coating: To achieve a smooth and even chocolate coating on the cakesicles, consider dipping each one twice. Allow the first layer to set briefly before applying a second dip for a professional-looking finish.
4. Temperature Control: If the melted chocolate starts to thicken while you’re dipping the cakesicles, reheat it briefly in the microwave at low power to maintain a smooth, workable consistency.
5. Decoration Timing: Have your sprinkles and decorations ready to go before you start dipping your cakesicles. The chocolate sets quickly, so it’s important to add the decorations immediately after dipping to ensure they adhere properly.

Red Velvet Cakesicles Valentines Recipe
My favorite Red Velvet Cakesicles Valentines Recipe
Equipment Needed:
1. Oven
2. 9×13 inch baking pan
3. Non-stick spray or parchment paper
4. Large mixing bowl
5. Mixing spoon or spatula
6. Toothpick
7. Large bowl (for crumbling cake)
8. Silicone cakesicle mold
9. Popsicle sticks
10. Lined sheet pan
11. Microwave-safe bowl
12. Microwave
13. Spoon (for stirring chocolate)
Ingredients:
- 1 box red velvet cake mix
- 3 large eggs
- 1/3 cup vegetable oil
- 1 cup water
- 1 cup cream cheese frosting
- 12 oz white chocolate or candy melts
- Red or pink food coloring (optional)
- Sprinkles or edible decorations
- Popsicle sticks
- Silicone cakesicle mold
Instructions:
1. Set your oven to 350°F (175°C) to preheat, and ready a baking pan measuring 9×13 inches with either non-stick spray or parchment paper.
2. In a big bowl, stir together the red velvet cake mix, eggs, vegetable oil, and water until thoroughly mixed and smooth.
3. Put the batter into the baking pan you prepared and bake it for 25 to 30 minutes.
Or until a toothpick plunged into the center comes out clean.
4. Let the cake cool completely, then crumble it into a large bowl.
5. Combine the crumbled cake with the cream cheese frosting until they reach a dough-like consistency.
6. Divide the mixture for the cake into portions and press each portion into the mold for the cakesicle, which is made of silicone. Put a sticksicle in each one.
7. Gently take the shaped cakesicles out of the molds, and place them on a lined sheet pan.
8. In a microwave-safe bowl, melt the white chocolate or candy melts, stirring every 30 seconds until smooth. If you want to add some contrasting color to your dipped strawberries, now is the time to do it. Stir in a few drops of red or pink food coloring to the melted white chocolate or candy melts.
9. Each cakesicle should be dipped in the melted chocolate and fully coated before allowing any excess chocolate to drip off.
10. Return the coated cakesicles back to the lined baking sheet, and in a flash, decorate them with sprinkles or edible decorations so that the chocolate doesn’t set first. Let cool thoroughly until the chocolate has set hard as well. And then you’re ready to enjoy your beautiful and delicious Red Velvet Cakesicles!