I made Halloween Rice Krispie Treats that look hilariously undead and the white chocolate finish on one of them made me actually gasp, so keep scrolling.
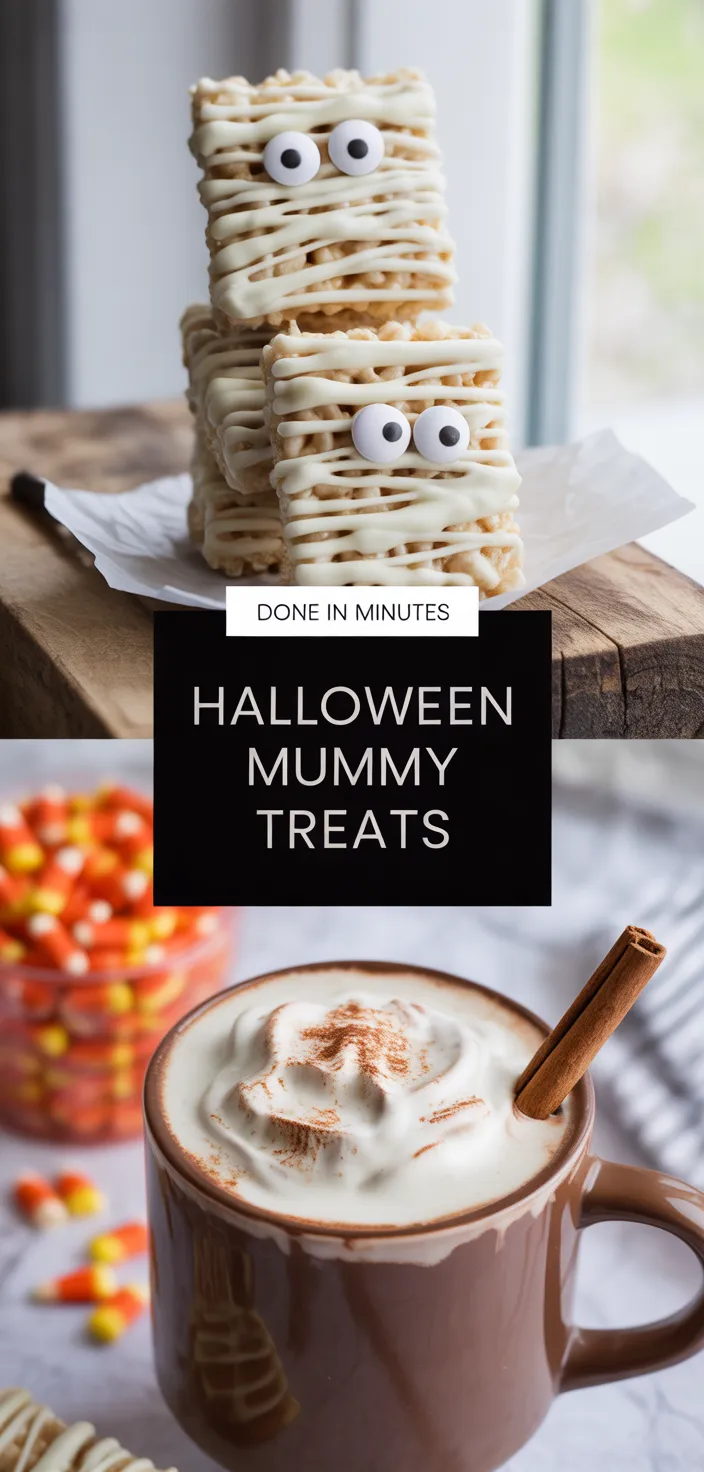
I’m obsessed with these Mummy Rice Krispie Treats because they hit that sweet-salty mall snack vibe but way better. I love tearing into the gooey interior and watching white chocolate threads harden into messy mummy bandages.
They look ridiculous with candy eyes staring back, so ugly and irresistible. I bring them to every fall jam, because Halloween Rice Krispie Treats get eaten first, no argument.
They’re dumbly fun for Halloween Party Treats and annoyingly easy to stash for sugar-crash emergencies. No fancy talk.
Just sticky fingers, crunchy cereal, and a stupid grin on every face. Trust me, you’ll love ’em.
Ingredients

- Rice Krispies — crunchy base that gives the mummy bars their crispy personality.
- Butter — makes everything rich and sticky, helps the treat hold together.
- Marshmallows — gooey, sweet glue that’s basically the whole fun part.
- Vanilla — warm backnote that makes the sweetness taste homemade, not fake.
- Pinch o’ salt — cuts the sugar, so it’s not cloying and flat.
- Butter or spray for pan — keeps things from sticking, so you’ll lift bars cleanly.
- White chocolate chips or wafers — melts into mummy bandages, sweet and smooth.
- Vegetable oil or shortening — thins the white chocolate so it drizzles nicely.
- Candy eyeballs — spooky focal point, makes each bite silly and Instagram-ready.
- Orange sprinkles — adds pop of color and playful Halloween vibes, optional.
- Black sprinkles — gives contrast and extra spooky texture, totally optional.
Ingredient Quantities
- 6 cups Rice Krispies cereal
- 3 tablespoons unsalted butter
- 10 ounces large marshmallows (about 40) or about 4 cups mini marshmallows
- 1 teaspoon vanilla extract
- a pinch o’ salt
- butter or cooking spray for the pan
- 12 ounces white chocolate chips or white melting wafers
- 1 teaspoon vegetable oil or a bit of shortening to thin the white chocolate if needed
- about 40 candy eyeballs
- optional: orange or black sprinkles for extra spooky flair
How to Make this
1. Grease a 9×13 inch pan with butter or cooking spray, or line with parchment paper so the bars lift out easy, set aside.
2. In a large pot over low heat melt 3 tablespoons unsalted butter, then add 10 ounces marshmallows and stir until smooth and gooey (you can do this in 20 to 30 seconds bursts in the microwave too, stirring between).
3. Remove from heat, stir in 1 teaspoon vanilla extract and a pinch o’ salt, then immediately add 6 cups Rice Krispies cereal and fold gently until everything is evenly coated.
4. Press the mixture firmly into the prepared pan using a buttered spatula or wax paper (pressing firmly helps the bars hold together, but don’t squish so hard they get rock solid).
5. Let the slab cool at room temp for about 30 minutes, or pop it in the fridge for 10 to 15 minutes if you’re impatient.
6. While it cools, melt 12 ounces white chocolate chips or melting wafers in a microwave-safe bowl in 20 second bursts, stirring each time, or use a double boiler on low. If the chocolate is thick, stir in about 1 teaspoon vegetable oil or a bit of shortening until smooth and pourable.
7. Cut the cooled Rice Krispie slab into about 12 to 16 rectangles. Place them on a sheet of parchment.
8. Drizzle or pipe the melted white chocolate across each bar in a zigzag pattern to look like mummy bandages. Work quickly so the chocolate sets but is still tacky.
9. While the white chocolate is still wet, press two candy eyeballs onto each treat so they stick. Add optional orange or black sprinkles if you want extra spooky flair.
10. Let the chocolate set completely at room temperature, or chill briefly to speed it up, then store treats in an airtight container for up to 3 days (separate layers with parchment). Enjoy, and try not to eat them all before the party.
Equipment Needed
1. 9×13 inch baking pan (buttered or lined with parchment)
2. Large pot (or a microwave-safe bowl if melting in the microwave)
3. Rubber spatula or wooden spoon for stirring and folding
4. Measuring cups and measuring spoons
5. Sheet of parchment paper for pressing and cooling
6. Buttered spatula or piece of wax paper for firmly pressing the mixture
7. Microwave-safe bowl or double boiler setup for melting chocolate
8. Sharp knife and cutting board for slicing into bars
FAQ
Halloween Mummy Treats Recipe Substitutions and Variations
- Rice Krispies cereal: swap for puffed rice cereal or even a crispy oat cereal if thats what you got, the texture will be a bit different but still crunchy and fun.
- Unsalted butter: use coconut oil or margarine in the same amount, just know coconut oil can add a slight coconut taste so use refined if you dont want that.
- Marshmallows: you can use marshmallow creme or jarred fluff (use about 1 1/4 cups) or vegan marshmallows for a plant based option, they melt a little different so stir gently.
- White chocolate chips: replace with white candy melts, almond bark, or finely chopped white baking chocolate; add a teaspoon of vegetable oil or shortening if it seems too thick for drizzling.
Pro Tips
1) Press firm but not too hard, ok? If you barely press the bars will fall apart, press too hard they turn into a hockey puck. Use a buttered spatula or piece of wax paper and press evenly so the slab is dense but still slightly springy.
2) Keep the marshmallow mixture hot and work fast. Marshmallow cools and gets stringy real quick, so have your cereal ready and fold it in right away. If it starts to set up, pop the pot back on very low heat just a few seconds to loosen it, dont overcook or it’ll get grainy.
3) Make the white chocolate easy to pipe. Microwave in short bursts and stir between, add a teaspoon of veg oil or a bit of shortening only if it’s too thick. If the chips seize, dont try to fix it with water, add a little fat and gentle heat instead. Put the melted chocolate in a zip-top bag, snip a tiny corner for neater bandages.
4) Stick the eyes while the chocolate is tacky not bone dry. If the chocolate sets completely the eyes wont adhere and will pop off. If you want to chill the bars to speed setting, wait a minute after drizzling so the chocolate firms up a touch but is still sticky, then press the eyes on. Store in an airtight container with parchment between layers, and try to keep them cool so the white chocolate doesnt bloom or get greasy.
Halloween Mummy Treats Recipe
I made Halloween Rice Krispie Treats that look hilariously undead and the white chocolate finish on one of them made me actually gasp, so keep scrolling.
12
servings
283
kcal
Equipment: 1. 9×13 inch baking pan (buttered or lined with parchment)
2. Large pot (or a microwave-safe bowl if melting in the microwave)
3. Rubber spatula or wooden spoon for stirring and folding
4. Measuring cups and measuring spoons
5. Sheet of parchment paper for pressing and cooling
6. Buttered spatula or piece of wax paper for firmly pressing the mixture
7. Microwave-safe bowl or double boiler setup for melting chocolate
8. Sharp knife and cutting board for slicing into bars
Ingredients
6 cups Rice Krispies cereal
3 tablespoons unsalted butter
10 ounces large marshmallows (about 40) or about 4 cups mini marshmallows
1 teaspoon vanilla extract
a pinch o' salt
butter or cooking spray for the pan
12 ounces white chocolate chips or white melting wafers
1 teaspoon vegetable oil or a bit of shortening to thin the white chocolate if needed
about 40 candy eyeballs
optional: orange or black sprinkles for extra spooky flair
Directions
- Grease a 9×13 inch pan with butter or cooking spray, or line with parchment paper so the bars lift out easy, set aside.
- In a large pot over low heat melt 3 tablespoons unsalted butter, then add 10 ounces marshmallows and stir until smooth and gooey (you can do this in 20 to 30 seconds bursts in the microwave too, stirring between).
- Remove from heat, stir in 1 teaspoon vanilla extract and a pinch o' salt, then immediately add 6 cups Rice Krispies cereal and fold gently until everything is evenly coated.
- Press the mixture firmly into the prepared pan using a buttered spatula or wax paper (pressing firmly helps the bars hold together, but don’t squish so hard they get rock solid).
- Let the slab cool at room temp for about 30 minutes, or pop it in the fridge for 10 to 15 minutes if you’re impatient.
- While it cools, melt 12 ounces white chocolate chips or melting wafers in a microwave-safe bowl in 20 second bursts, stirring each time, or use a double boiler on low. If the chocolate is thick, stir in about 1 teaspoon vegetable oil or a bit of shortening until smooth and pourable.
- Cut the cooled Rice Krispie slab into about 12 to 16 rectangles. Place them on a sheet of parchment.
- Drizzle or pipe the melted white chocolate across each bar in a zigzag pattern to look like mummy bandages. Work quickly so the chocolate sets but is still tacky.
- While the white chocolate is still wet, press two candy eyeballs onto each treat so they stick. Add optional orange or black sprinkles if you want extra spooky flair.
- Let the chocolate set completely at room temperature, or chill briefly to speed it up, then store treats in an airtight container for up to 3 days (separate layers with parchment). Enjoy, and try not to eat them all before the party.
Notes
- Below you’ll find my best estimate of this recipe’s nutrition facts. Treat the numbers as a guide rather than a rule—great food should nourish both body and spirit. Figures are approximate, and the website owner assumes no liability for any inaccuracies in this recipe.
Nutrition Facts
- Serving Size: 63g
- Total number of serves: 12
- Calories: 283kcal
- Fat: 12g
- Saturated Fat: 7.2g
- Trans Fat: 0.2g
- Polyunsaturated: 0.7g
- Monounsaturated: 2.5g
- Cholesterol: 13mg
- Sodium: 94mg
- Potassium: 70mg
- Carbohydrates: 42.2g
- Fiber: 0.6g
- Sugar: 35.7g
- Protein: 2.4g
- Vitamin A: 81IU
- Vitamin C: 0mg
- Calcium: 60mg
- Iron: 0.41mg